Configuring Cloud Scanner for AWS
CloudFormation
Organization Deployment
Log in to the AWS management console account and open the following url link to deploy Cloud Scanner using CloudFormation in us-east-1 region.
Deploy across multiple AWS accounts or AWS organization
(Template URL: https://deepfence-public.s3.amazonaws.com/cloud-scanner/deepfence-cloud-scanner-org-common.template)
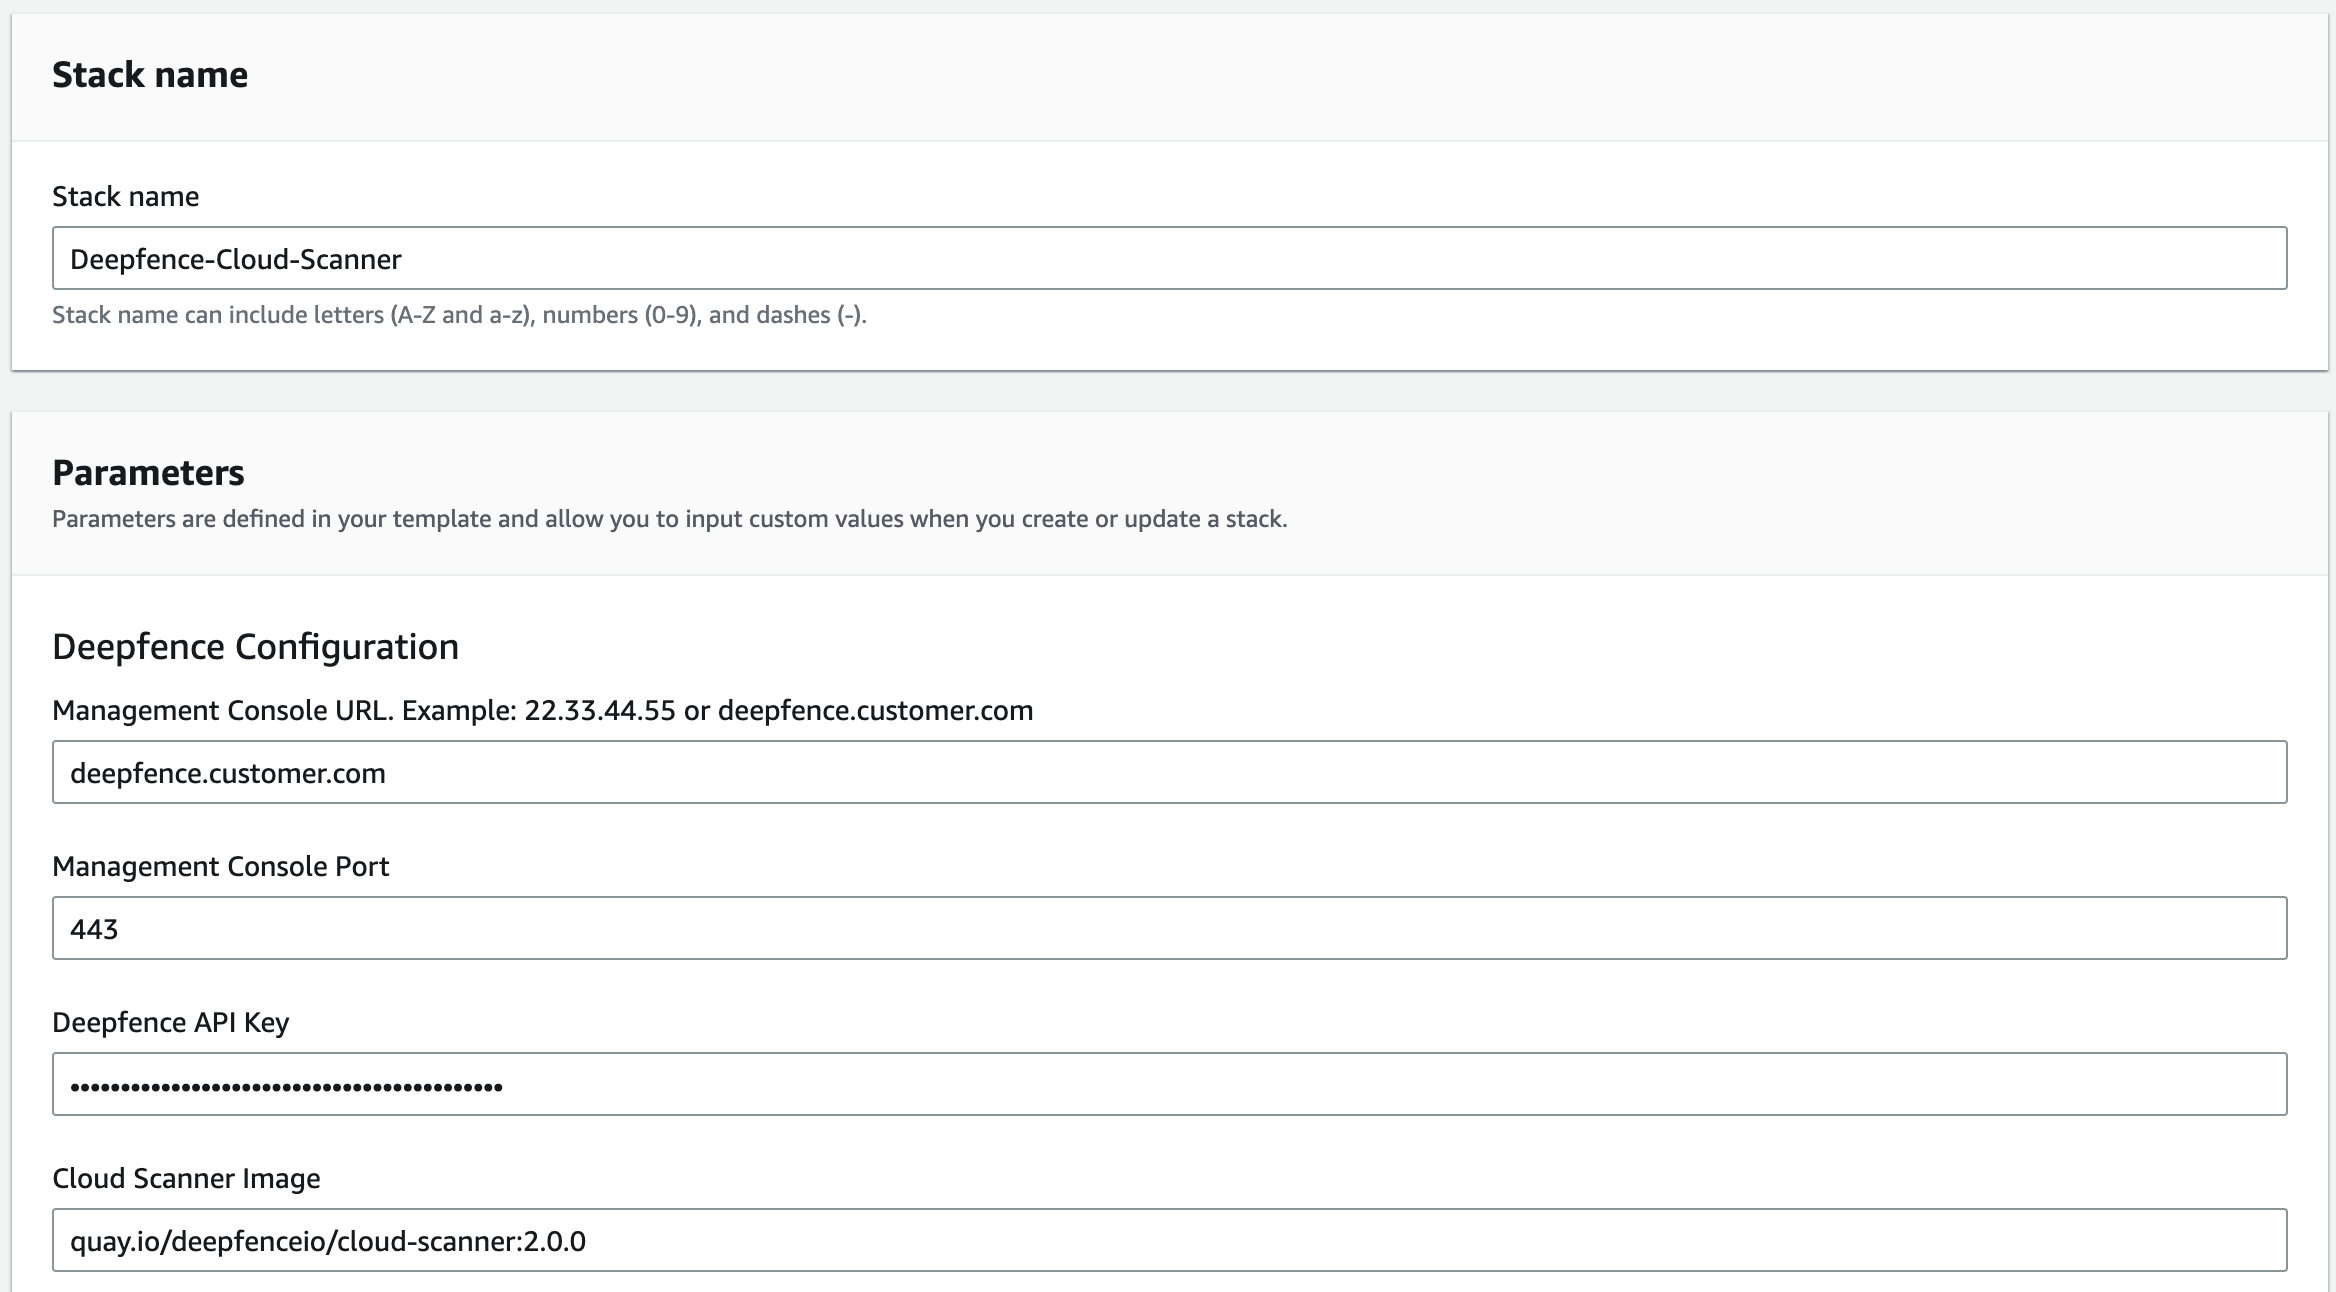
Then, fill in the below parameters as needed:
 |
|---|
| Cloud Scanner Configuration |
 |
|---|
| Set Name |
Single Account Deployment
Log in to the AWS management console account and open the following url link to deploy Cloud Scanner using CloudFormation in us-east-1 region.
Deploy on a single AWS account
(Template URL: https://deepfence-public.s3.amazonaws.com/cloud-scanner/deepfence-cloud-scanner.template)
Then, fill in the below parameters as needed:
 |
|---|
| Cloud Scanner Configuration |
 |
|---|
| Set Name |
For Deployment in Existing VPC(Optional)
If you want to deploy Cloud Scanner in an existing VPC (say, for environment where the Deepfence Management Console can only be accessed via a private IP within the VPC), you need to fill in the following params:
 |
|---|
| Choose VPC |
Configure CIDR blocks(Optional)
You may want to configure CIDR blocks to avoid collision with existing CIDR blocks:
 |
|---|
| Choose CIDRs |
Terraform
Cloud Scanner is deployed as a task within your AWS infrastructure.
You need to configure Terraform with the appropriate resources and inputs for your particular scenario, and you will need to provide the IP address or DNS name for the ThreatStryker management console and an API key.
Copy and paste the following into a new file cloud-scanner.tf. Edit the fields: region, mgmt-console-url and deepfence-key.
provider "aws" {
  region = "<AWS-REGION>; eg. us-east-1"
}

module "deepfence-cloud-scanner_example_single-account" {
  source                        = "deepfence/cloud-scanner/aws//examples/single-account-ecs"
  version                       = "0.3.0"
  mgmt-console-url              = "<Console URL> eg. XXX.XXX.XX.XXX"
  mgmt-console-port             = "443"
  deepfence-key                 = "<Deepfence-key> eg. XXXXXXXX-XXXX-XXXX-XXXX-XXXXXXXXXXXX"
  name                          = "deepfence-cloud-scanner"
  image                         = "quay.io/deepfenceio/cloud-scanner:1.4.3"
  region                        = "<AWS-REGION>; eg. us-east-1"
  ecs_vpc_region_azs            = ["us-east-1a"]
}
Ensure that the name parameter is set to some unique string to avoid collision with existing resource names in the account of deployment
Then run
terraform init
terraform plan
terraform apply
For full details, refer to the examples provided in the GitHub repository: https://github.com/deepfence/terraform-aws-cloud-scanner
What Compliance Scans are Performed?
ThreatStryker builds on a large library of controls - these are specific requirements and matching tests. For example, you will find controls that correspond to best-practice configurations of access to assets, such as enabling TLS access and blocking plain-text HTTP.
Controls are grouped into benchmarks. Where multiple benchmarks are available, controls may be used by several benchmarks.
When you run a compliance scan, you can select which benchmarks you wish to measure against, and ThreatStryker will then evaluate the appropriate controls and present the results, by benchmark, once the scan has completed.
For full information, refer to Operations: Compliance Scanning.
For maximum coverage, you can use both Cloud Scanner and local Sensor Agent compliance scans together. You could scan your AWS infrastructure using Cloud Scanner, and scan selected VMs deployed within AWS using the Sensor Agent.