Initial Configuration
Once you have installed the Management Console, you need to register an admin user and obtain the API key needed by the ThreatMapper sensors. You can also configure the URL for the Management Console, and provide your own TLS certificates.
You will need the IP address for the management console:
- On a Docker host, you can find the external, routable IP address of the host using
hostname -I. - On a Kubernetes host, find the external IP address of the load balancer for the
deepfence-console-routerservice (kubectl get --namespace deepfence-console svc -w deepfence-console-router).
Initial Configuration
-
Open the Console in a browser (https://your-ip-address/):
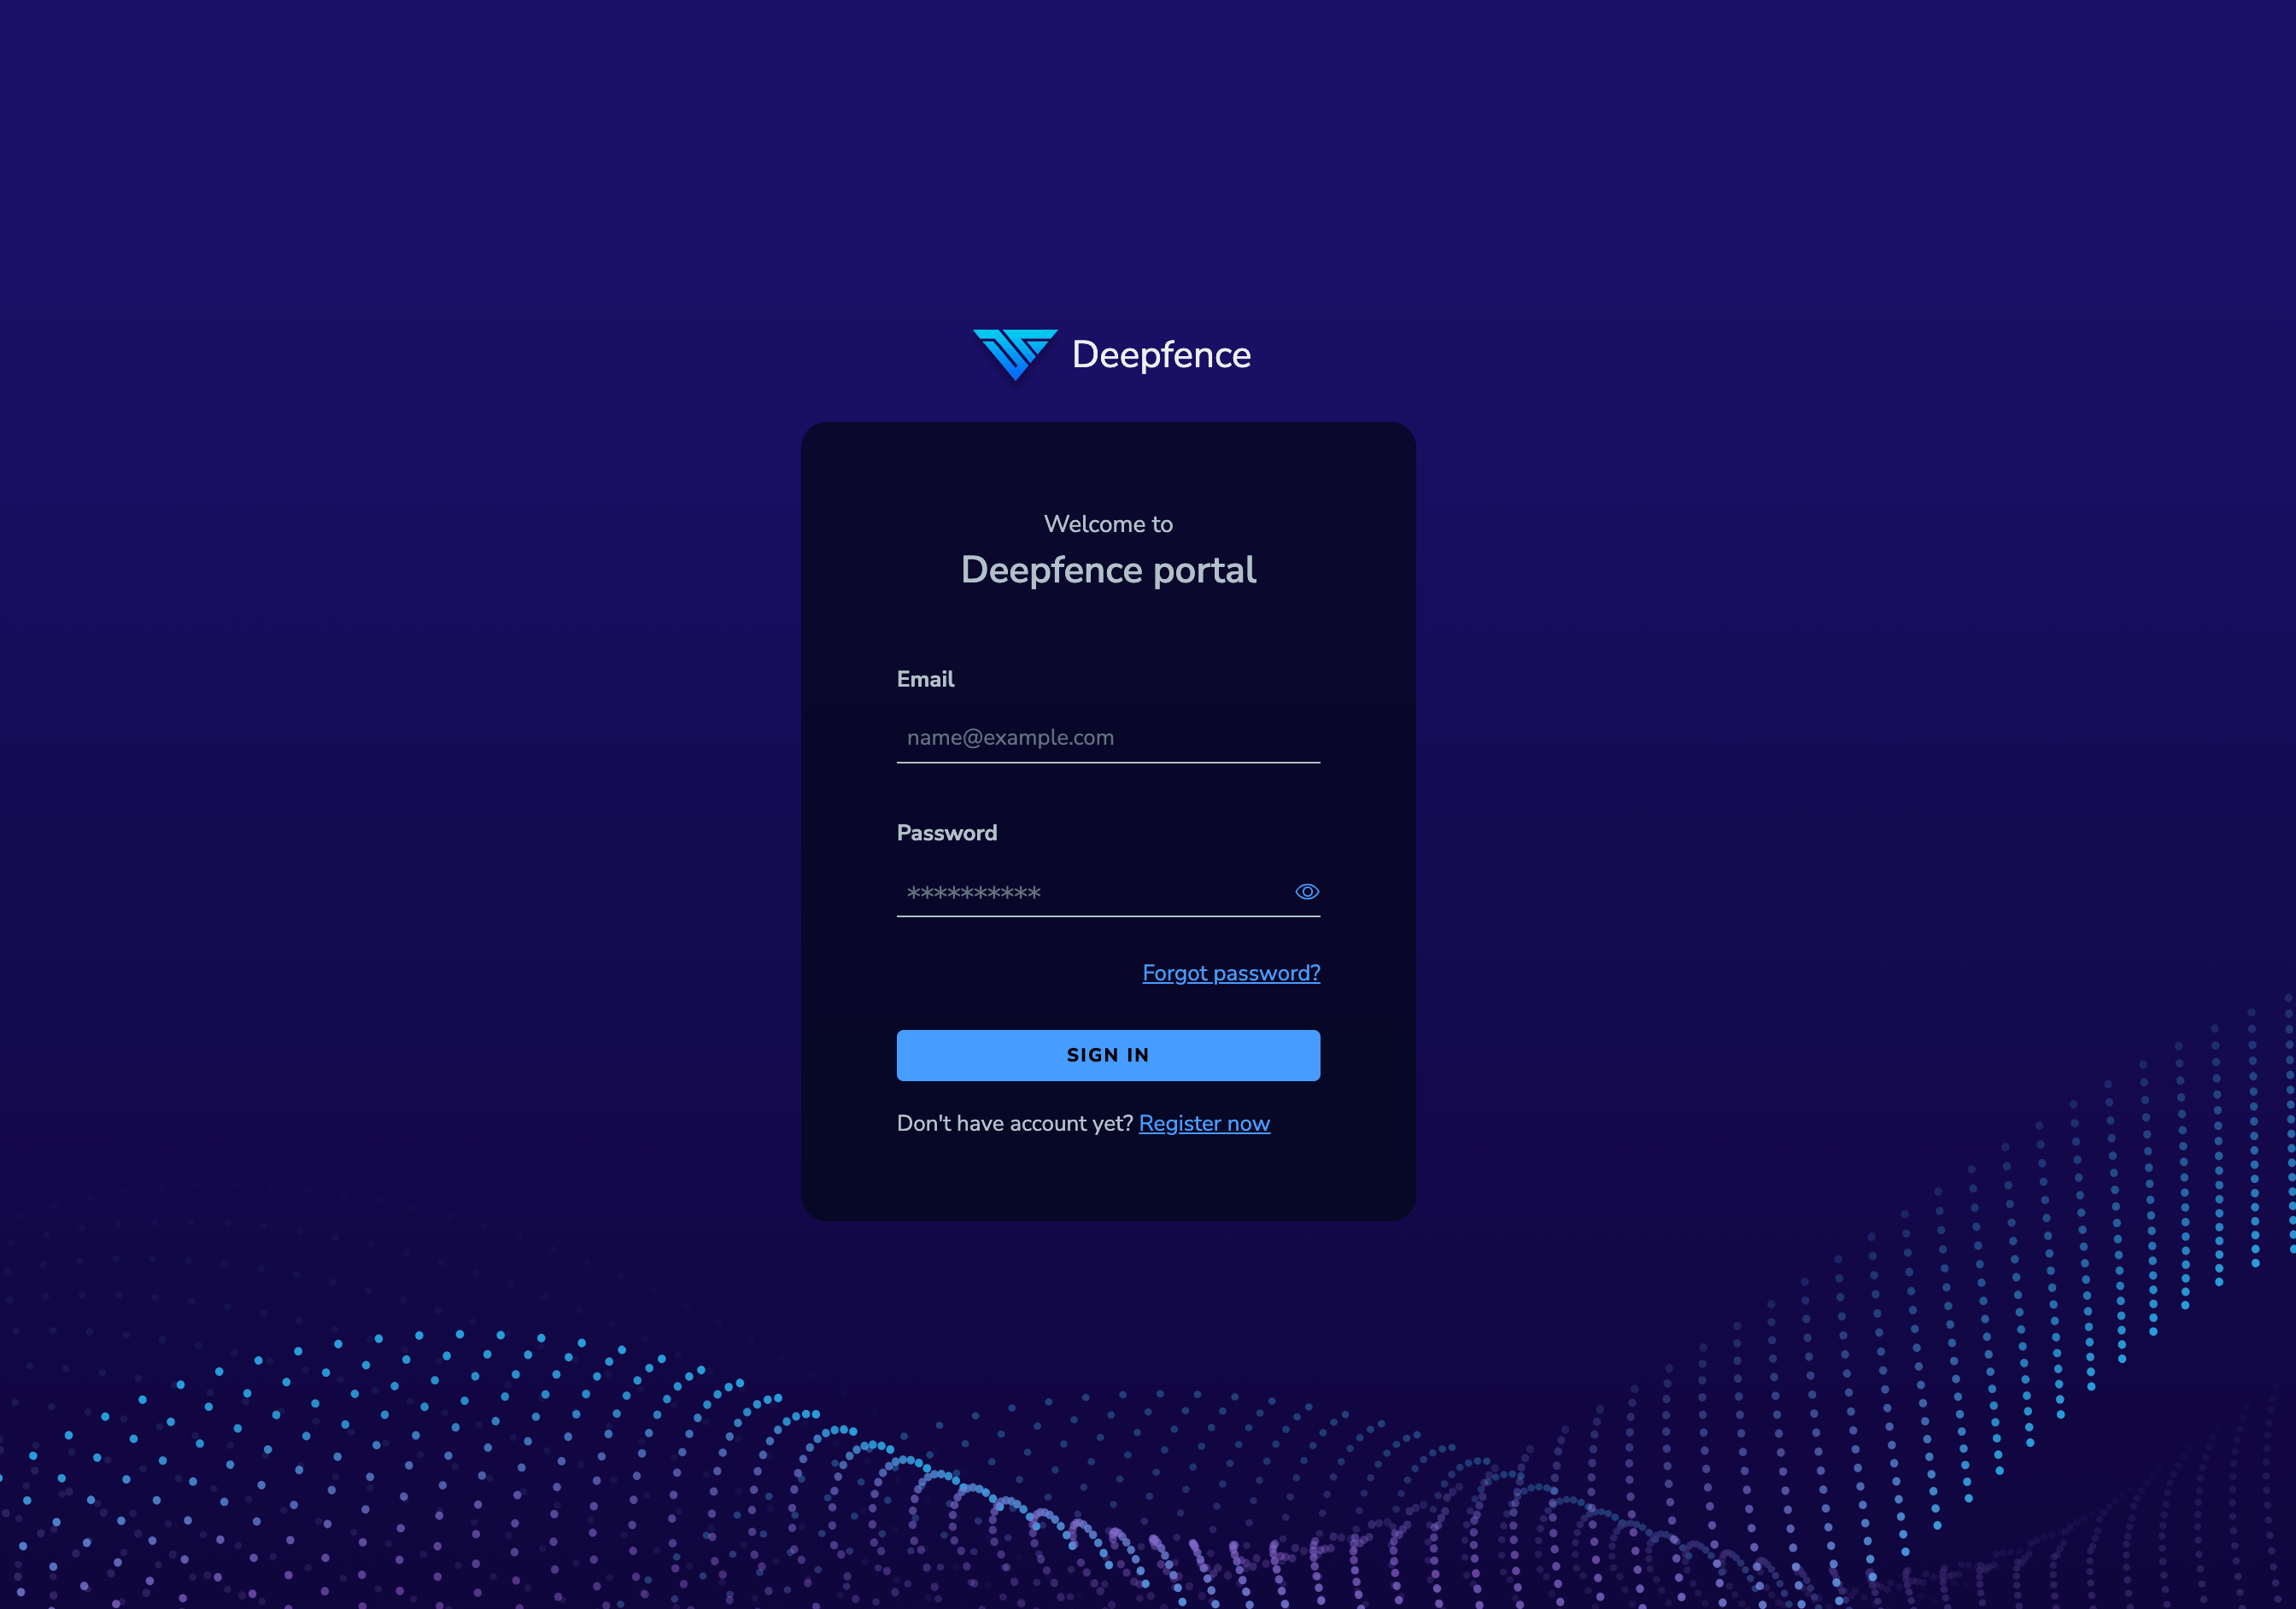
Initial Login You will likely encounter a warning about an invalid SSL/TLS certificate, because the console is using an internally-generated self-signed cert. You can bypass that warning. See below for how to provide your own TLS certificate.
-
Create a new account. Once one user has been registered, additional users are added by invitation from an admin user:
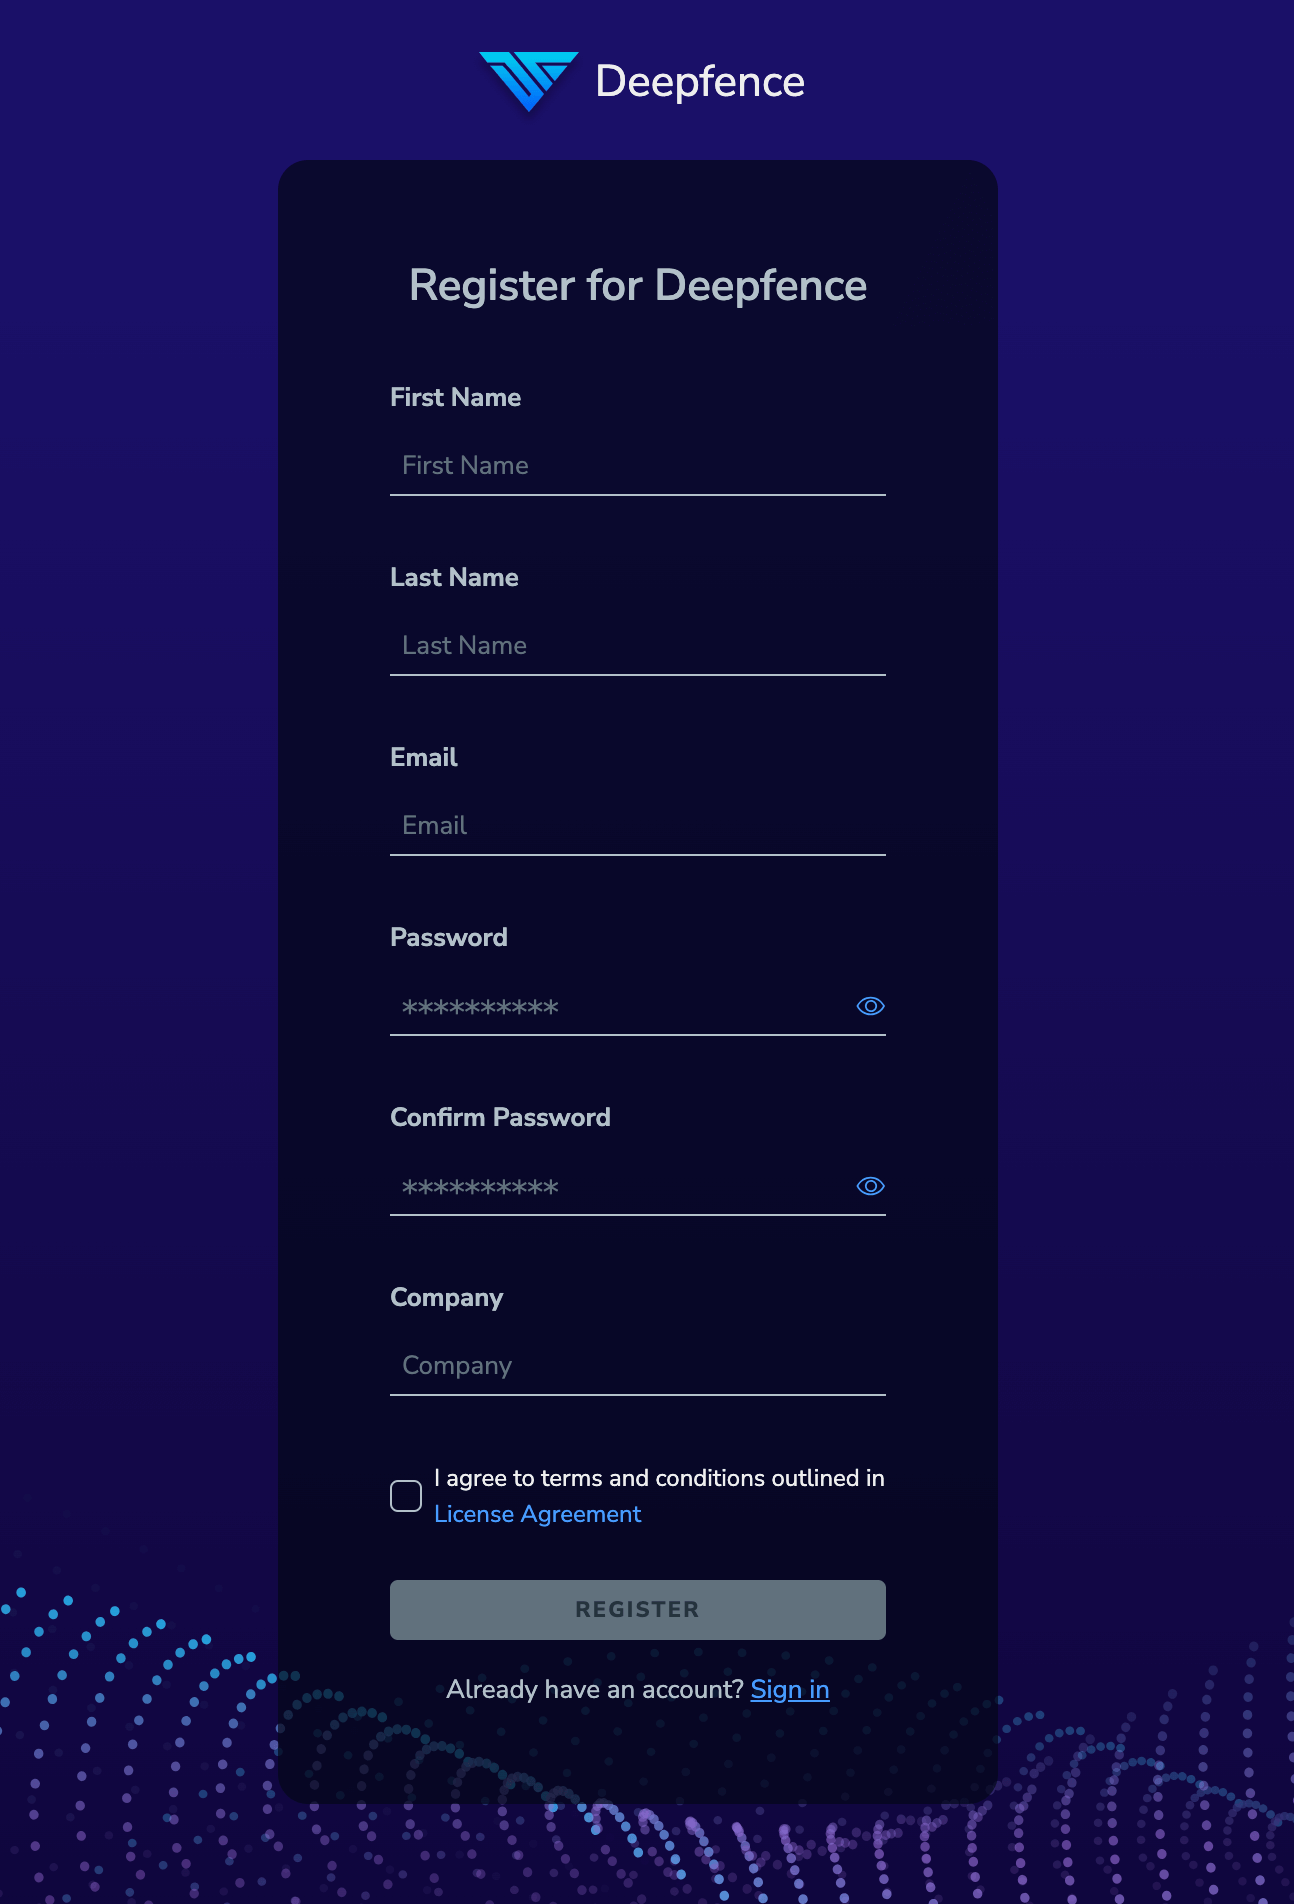
Account Registration Account Registration details are private to your Management Console, and are not shared with Deepfence or other third parties.
Register License
-
Registration is required to download the ThreatIntel database from Deepfence.
-
To register license, go to
Settings->License Details. If you don't register here, you will be asked to register when starting a scan.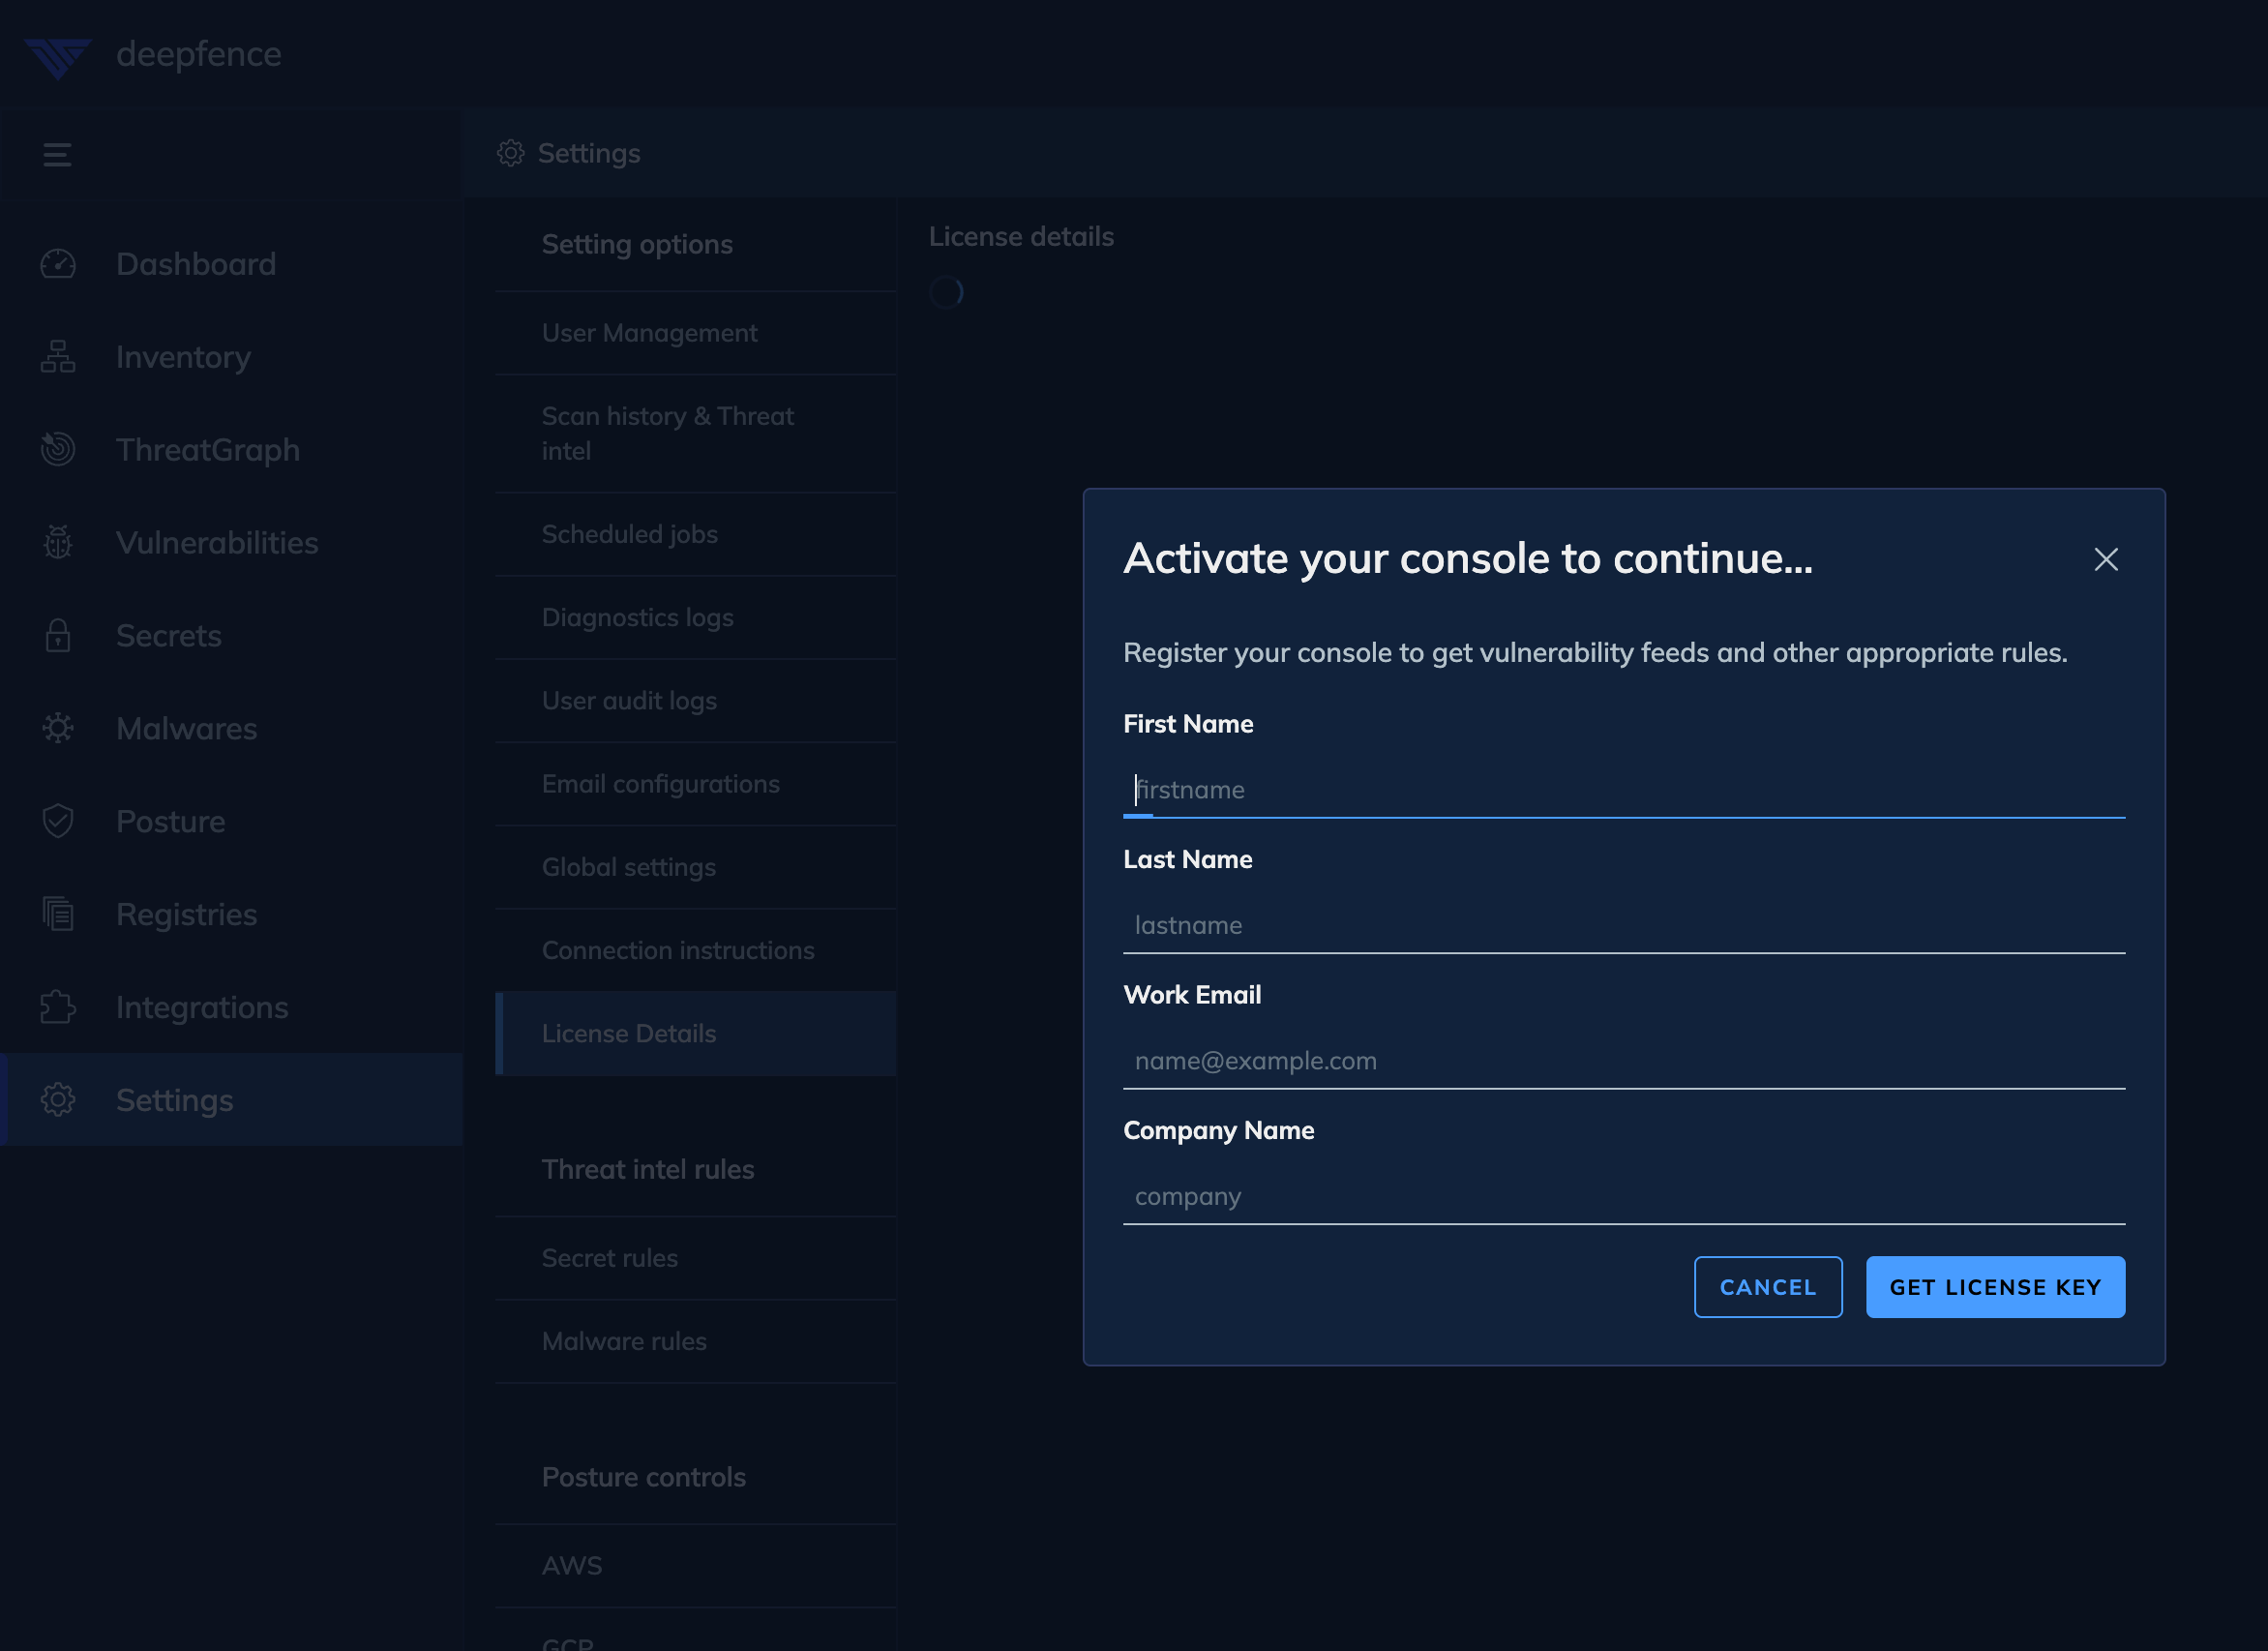
License Registration -
After submitting the details, you will receive a license key via email. Copy the license key from the email.
-
Paste the license key in the
License Keyfield and click onRegister and Continue.
License Registration
Obtain the API Key
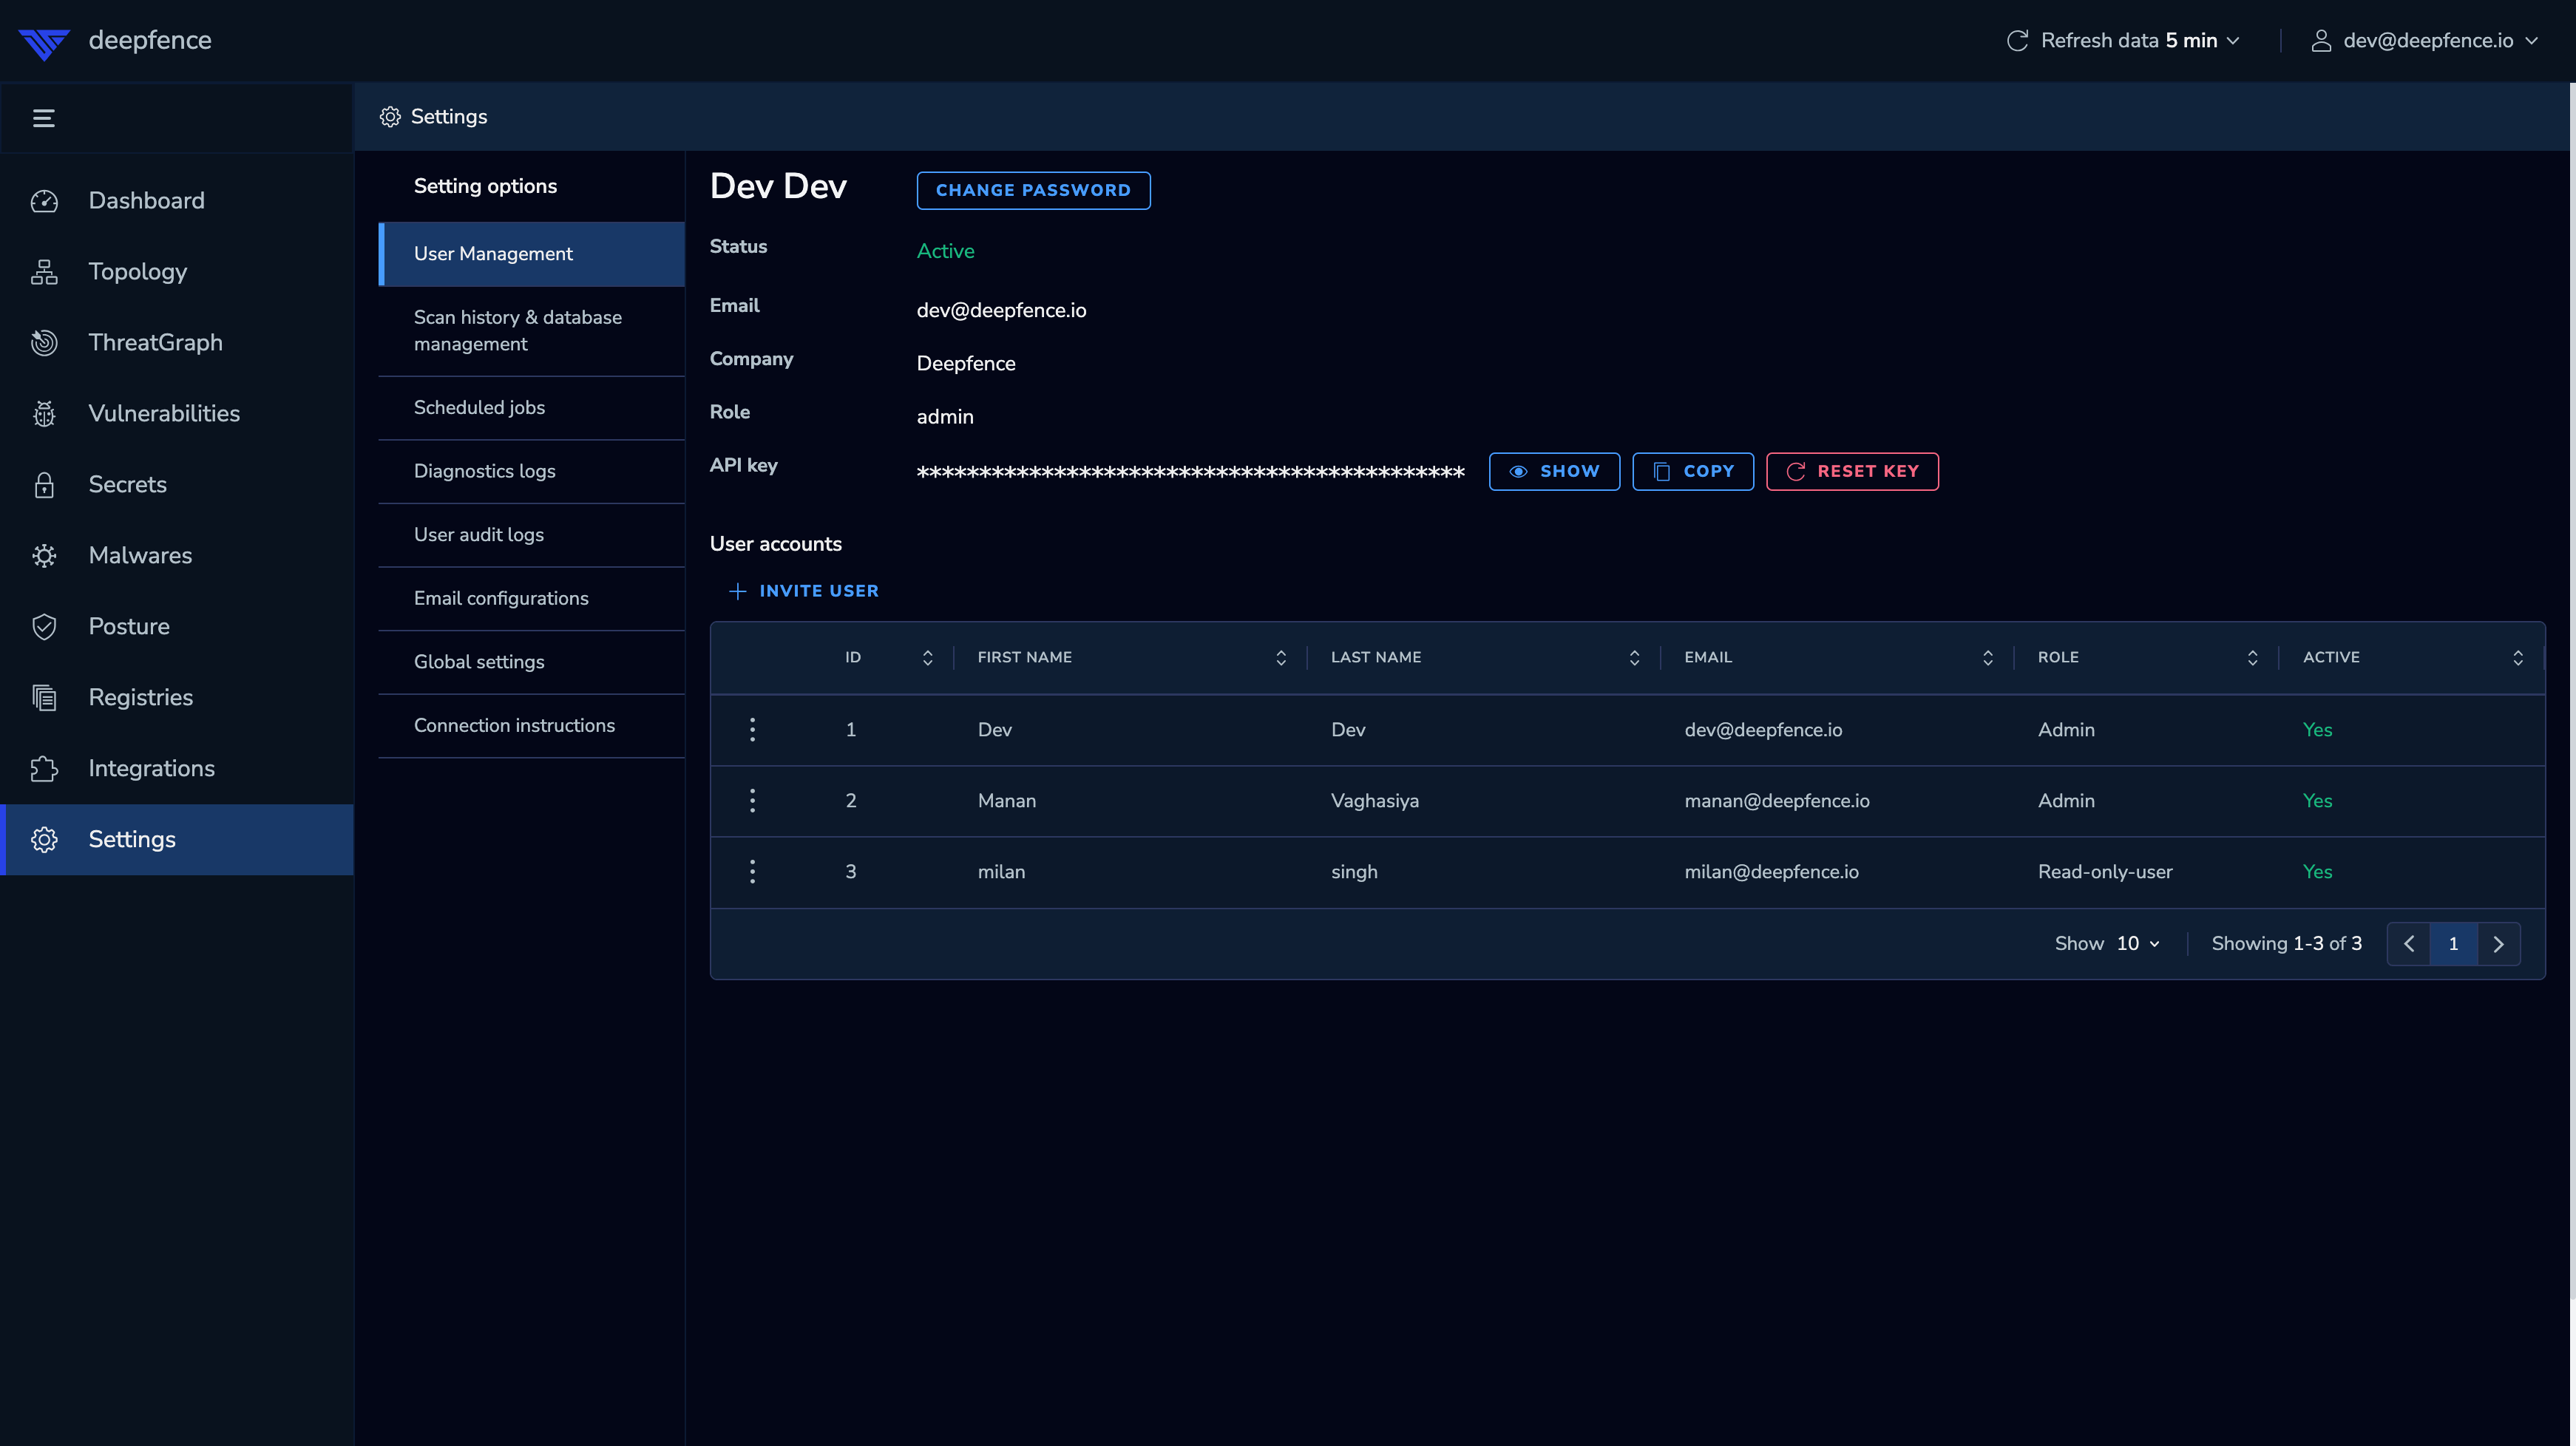
The API key is used to authenticate remote sensor agents and cloud scanner tasks. Go to Settings -> User Management and make note of the API key; you will need it when deploying the Deepfence sensors.
 |
|---|
| View the API key |
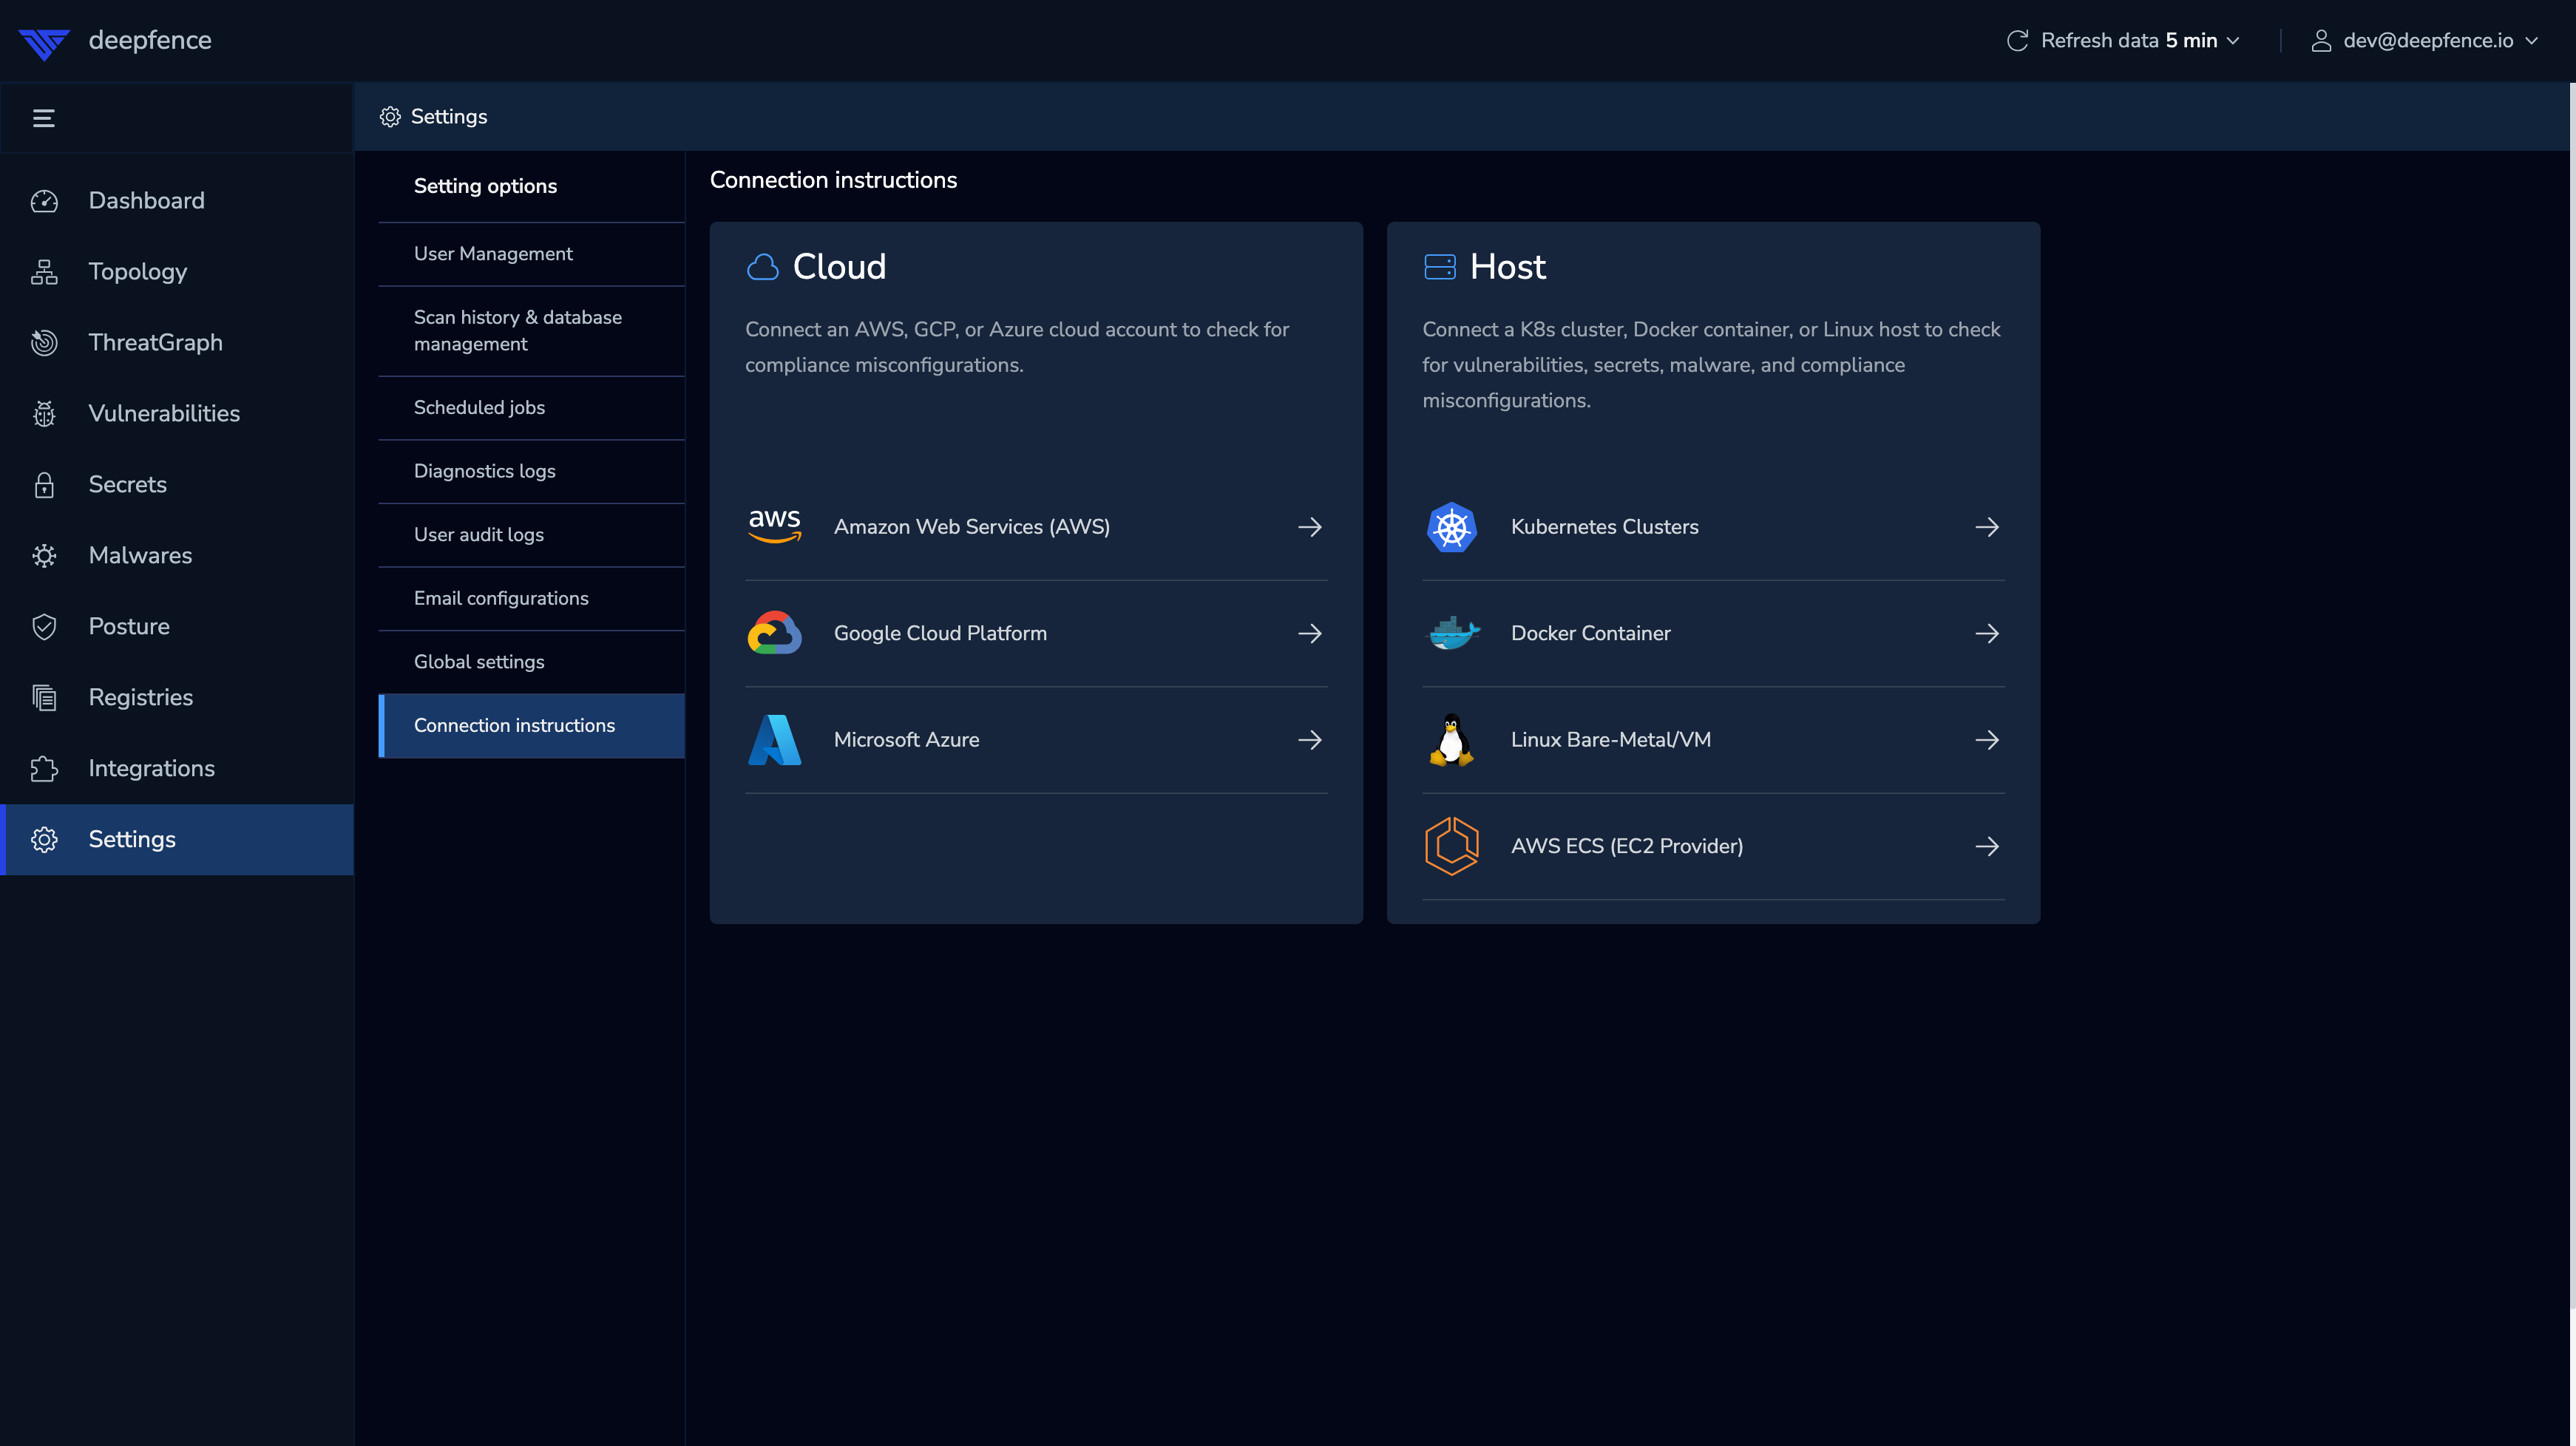
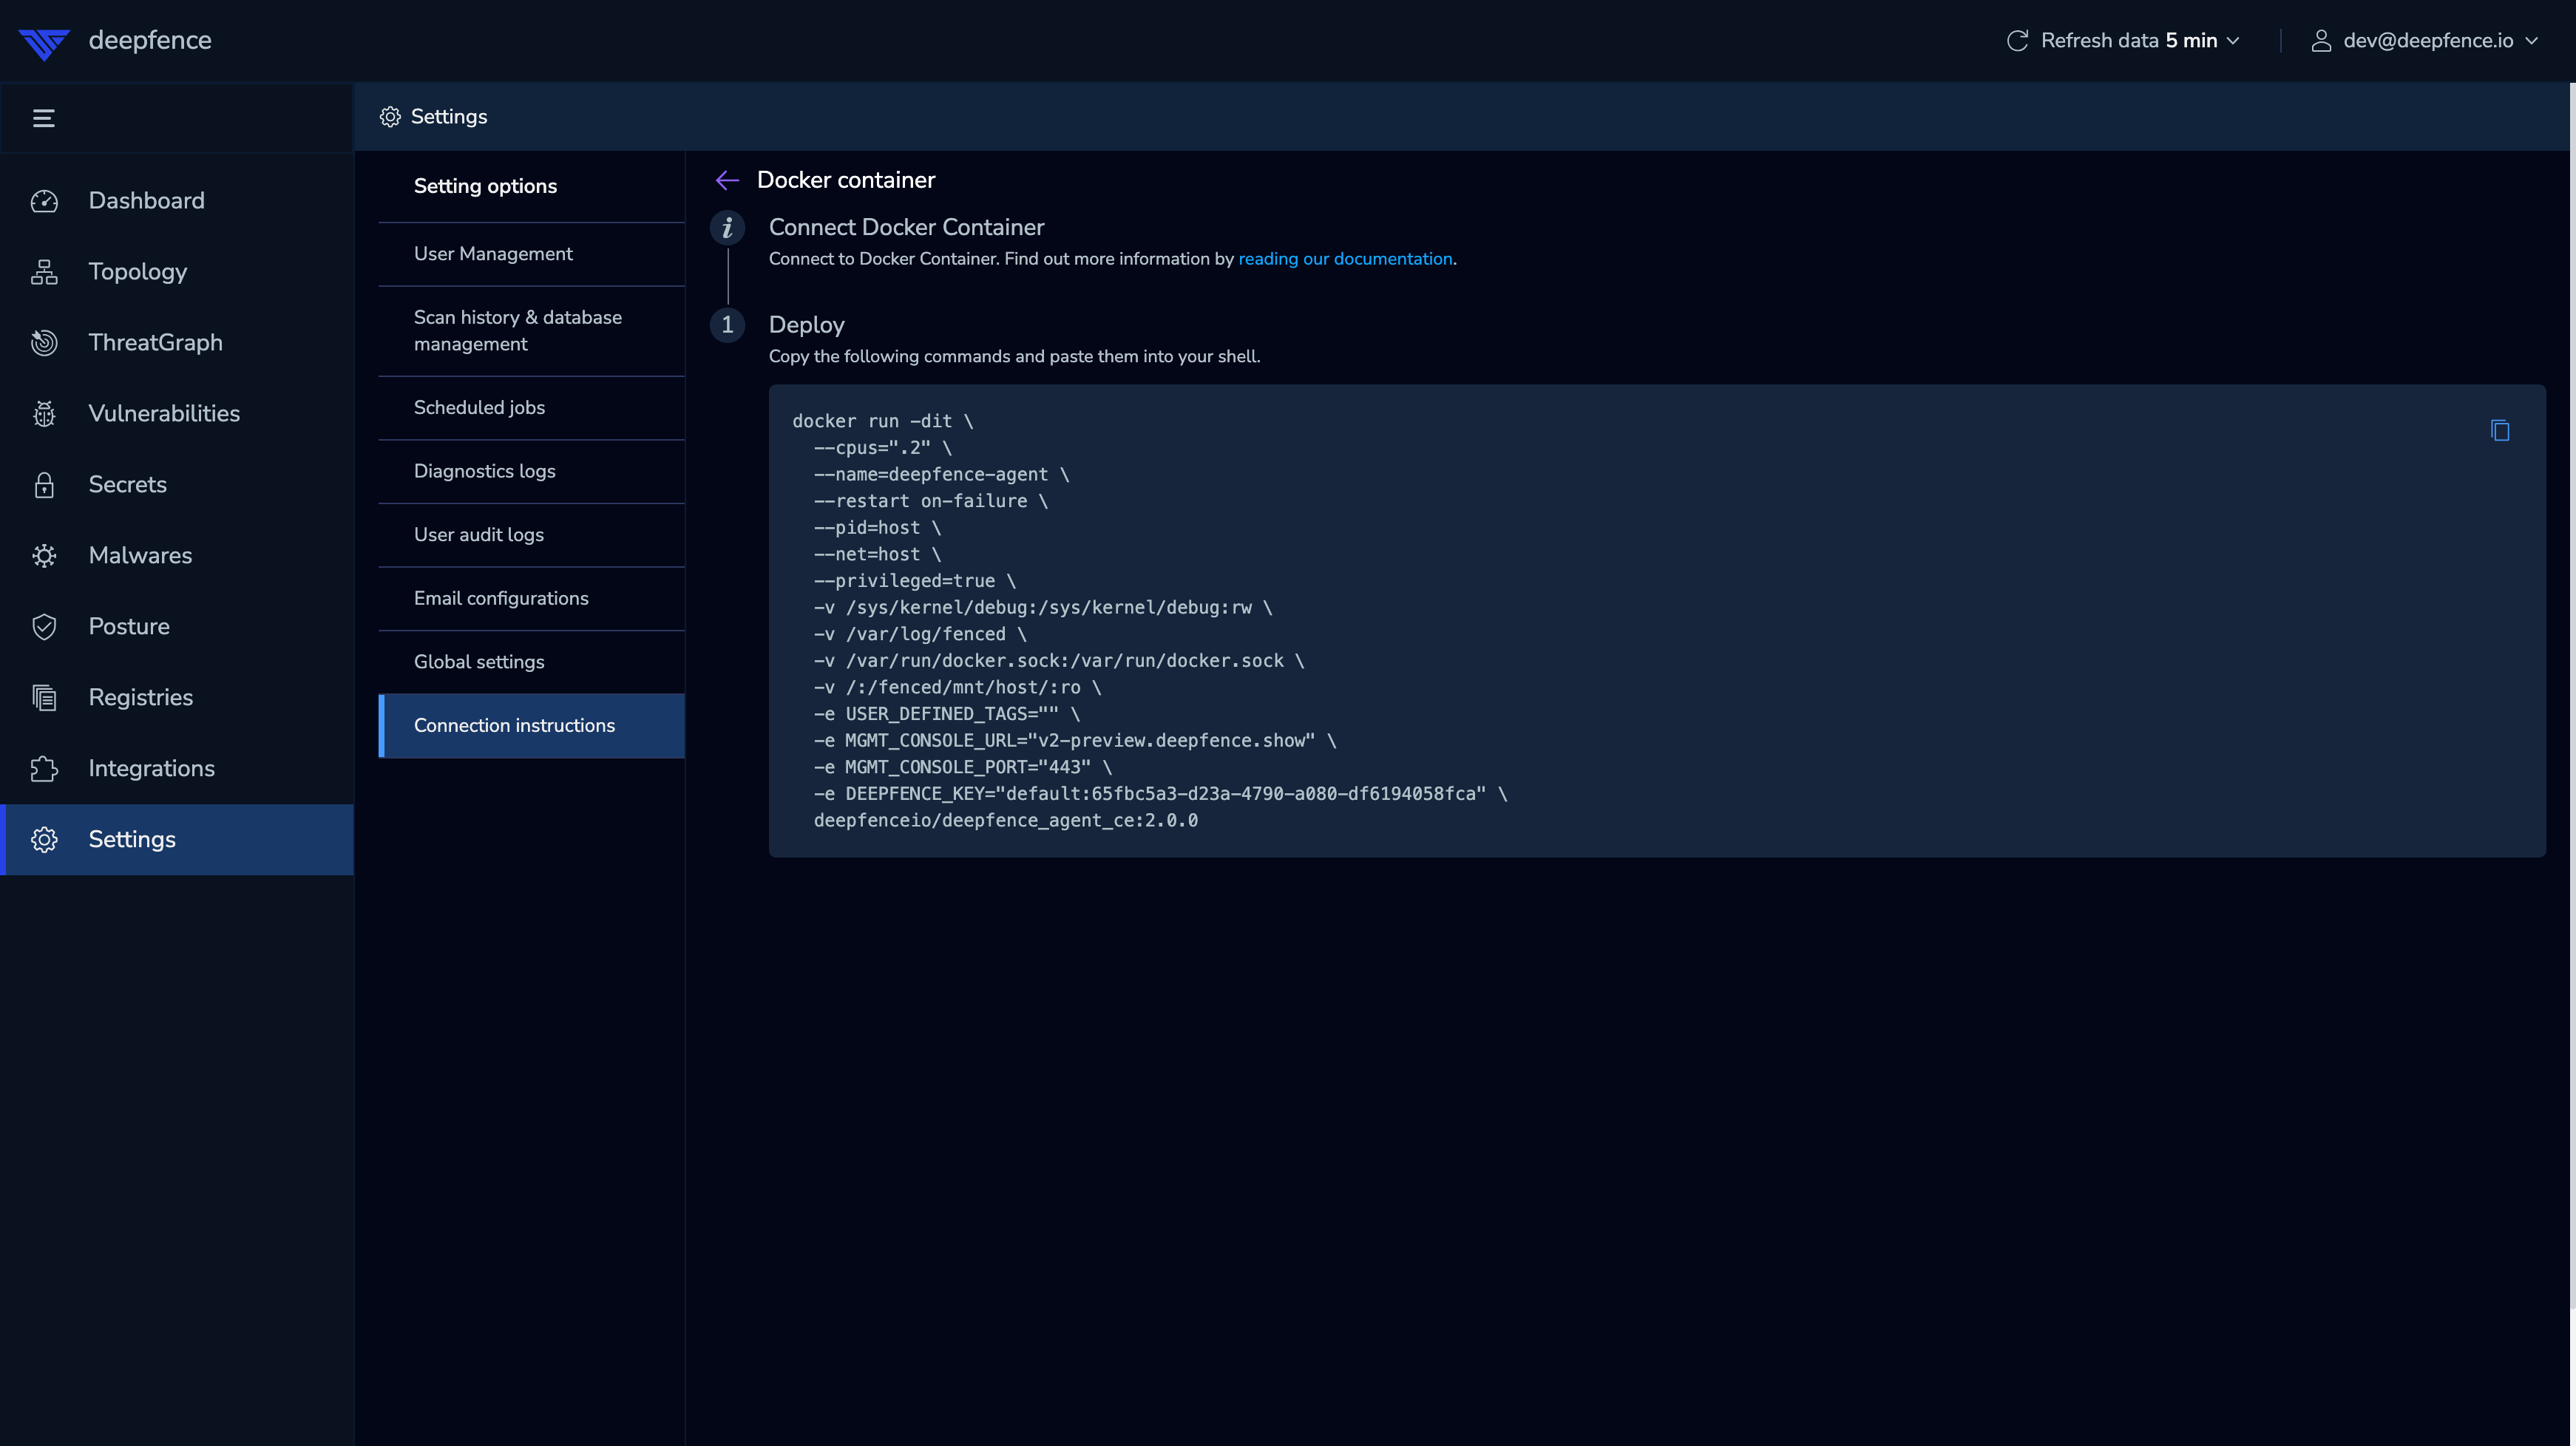
For your convenience, the console also displays the specific commands to perform a default installation of the Deepfence Sensor Agents on Docker and Kubernetes hosts, pre-filled with the API key and management console URL data:
 |
|---|
| Agent Setup |
 |
|---|
| Agent Setup for Docker |
Updating Threat Intel Data
Console installations are preconfigured with threat intel data. Once the Console has started, it will update its Threat Intel feed data; this can take several minutes, and is updated daily.
Configuring Access to the Management Console (optional)
By default, the Management Console is accessed by IP address (https://ip-address/) and uses a self-signed certificate.
You can configure the URL used to access the Management Console, and you can provide your own TLS certificate:
Configuring the URL
This is updated automatically. The URL set here is when sending password reset emails and user invite emails.
To update manually, go to Settings > Global Settings and edit the Deepfence Console URL.
Using your own TLS certificates - Docker
On the console machine, place the certificate and private key in /etc/deepfence/certs folder. Deepfence looks for the file with .key and .crt extensions on the specified location on the host:
# Provide the SSL key and cert, for example, using OpenSSL to create a self-signed pair
sudo openssl req -x509 -newkey rsa:4096 \
  -keyout /etc/deepfence/certs/sslkey.key -out /etc/deepfence/certs/sslcert.crt \
  -days 365 -nodes

# restart the management console to use the new TLS certificate
docker-compose -f docker-compose.yml down
docker-compose -f docker-compose.yml up -d
Using your own TLS certificates - Kubernetes
- To configure certificates in values file use below format
router:
  # Use custom ssl certificate for Deepfence UI
  # custom certificates can be configured using two options
  # existing secret or base64 encoded cert and key string
  # provide one off the two options to configure custom certificates
  tls:
    # provide secret name which contains tls cert and key
    # reference: https://kubernetes.io/docs/concepts/configuration/secret/#tls-secrets
    # make sure to create secret in the same namespace as that of the console
    secretName: ""
    # embed given cert and key as secret and mount to router pod
    # provide certificate and key in below example format
    cert: |-
      -----BEGIN CERTIFICATE-----
      MIIFCTCCAvGgAwIBAgIUNshy8GFTjfUR7inZ1JCcN+tDuh4wDQYJKoZIhvcNAQEL
      .....
      BMepE4d9+TQFcPQ/OKSlP8FB2nPKZJdM+JlXDFWqeKvbdYS4QErRLd33qUmq
      -----END CERTIFICATE-----
    key: |-
      -----BEGIN PRIVATE KEY-----
      MIIJQQIBADANBgkqhkiG9w0BAQEFAASCCSswggknAgEAAoICAQDECeUraonCz/89
      .....
      bHEvWp7ugCTFhurM+lla0d+ElDO2
      -----END PRIVATE KEY-----
- If you already have a tls certificate available on cluster in the same namespace as that of the console as tls secret, then pass the name of the secret to helm chart values as shown in below example
router:
  tls:
    secretName: console-tls-certs